

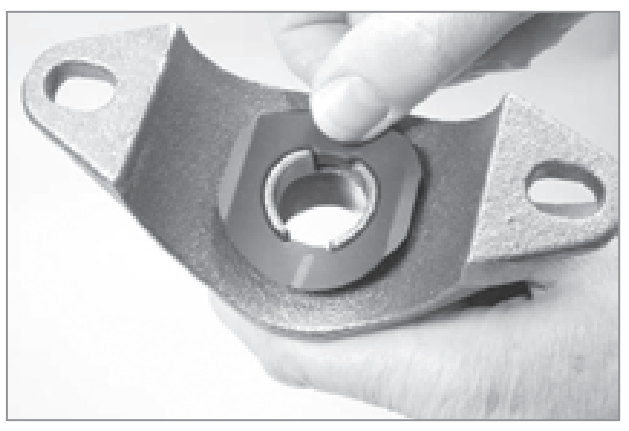
- Install the gasket into the gasket pocket. Press the gasket along the full circumference to ensure that it fully seats in the gasket pocket. DO NOT LUBRICATE THE GASKET.
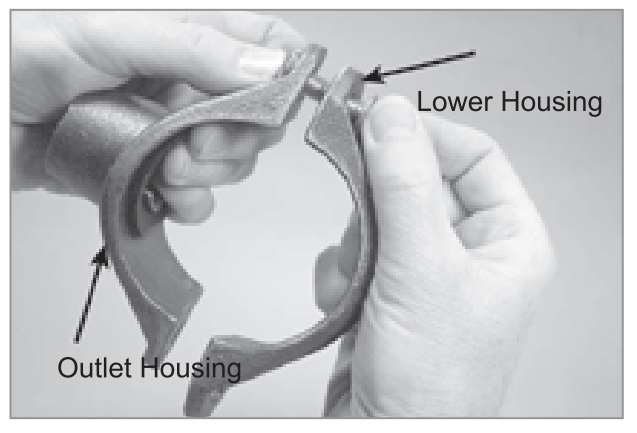
2.Insert a bolt into the outlet housing and lower housing, and thread a nut loosely onto the bolt (nut should be flush with end of bolt) to allow for the “swing-over” feature.
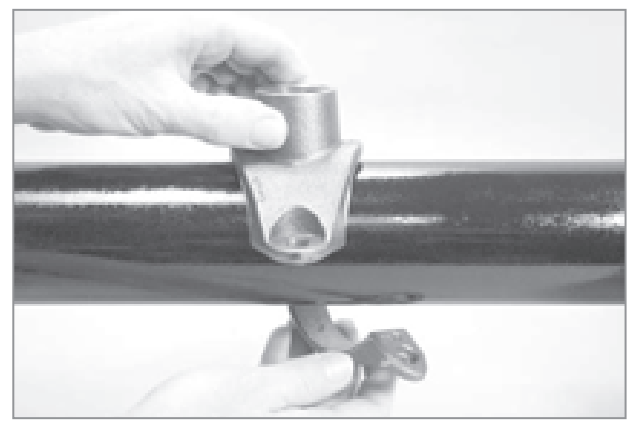
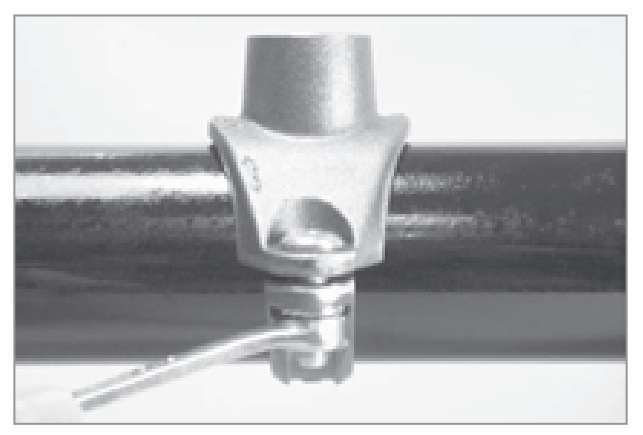
3. Install the outlet housing onto the pipe by centering the locating collar in the hole. To check for proper engagement, slide the outlet housing back and forth while pushing down. A properly positioned outlet housing can be moved only a small amount in any direction.
3a. Rotate the lower housing around the pipe, while holding the outlet housing in place to make sure the locating collar remains seated properly in the hole.
4. Insert the other track bolt into the outlet housing and lower housing. Install the nut finger-tight.
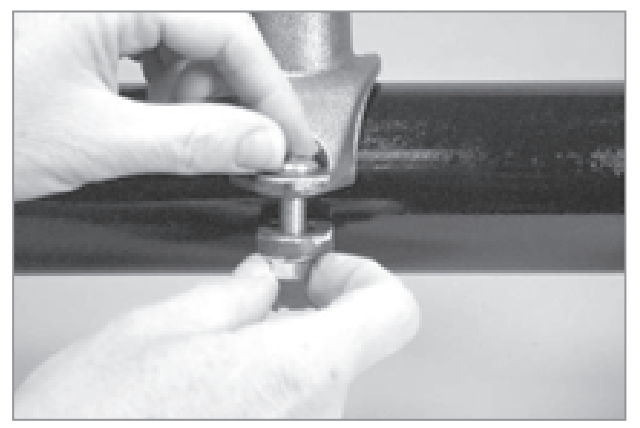
5. Tighten the nuts evenly to an approximate torque value of 20ft-Ibs/27.1-N*m to ensure proper gasket compression. NOTE: To avoid over-tightening the nuts, use a wrench with a maximum length of 8inches/200 mm. DO NOT over-tighten the nuts.
6. The outlet housing, near the gasket, should not make metal-to-metal contact with the pipe. In addition, a small gap is expected between the outlet housing and the lower housing.

Caution
Proper torque of bolts is required to obtain specified performance.
-Over torquing the bolts may result in damage to the bolt and/or casting which could result in pipe joint separation.
-Under torquing the bolts may result in lower pressure retention capabilities, lower bend load capabilities, joint leakage and pipe joint separation. Pipe joint separation may result in significant property damage and serious injury.
Post time: Jul-12-2021